I am the type of person that learns pretty quickly if I watch a demonstration or see something visually. If you want me to do something, show me once and I pretty much get it. Lectures and a bunch of talking doesn’t quite do it for me. Show me something and I will remember it!
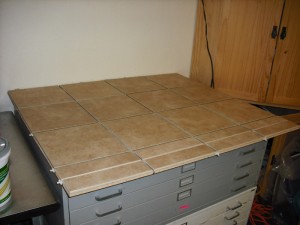
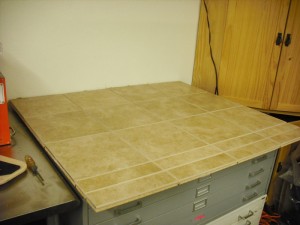
With that said, I had been looking for a new counter top for my new glass working space and could not locate anything close to the size and specs that I needed. I wanted to use the existing surface space of my heavy metal flat files because it wasn’t really a utilized space.
So, I ventured on to youtube.com to see how hard can it be to lay tile on a work surface. After scoping out a couple of handy (and really well done) videos, I went to Home Depot and bought all of the supplies necessary to get my project done for less than $75.00.
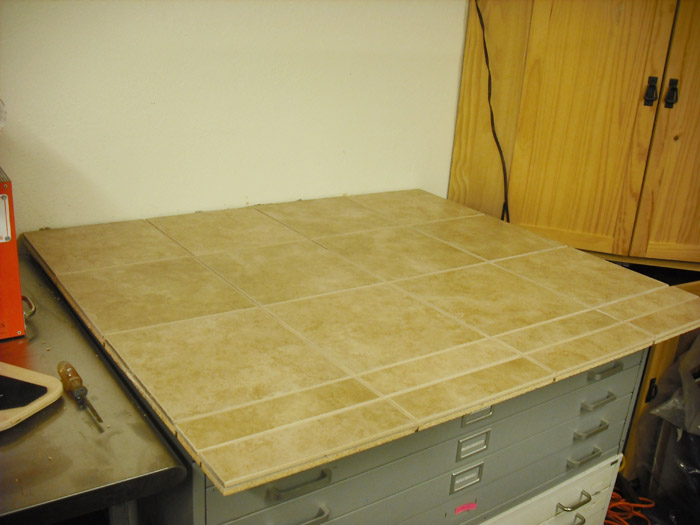
I was not in the market for anything spectacular in the tile design , just something inexpensive and easy to work with for my project. I measured my space, got the wood cut, bought the 12″ tiles, mortar, grout and spacers.
Laid down the mortar and scored it with a popsicle stick (the guy in the video recommended this to save money on tools). Heck, I didn’t need to buy the mortar rake and therefore I saved $8.00.
Starting with the edge tiles first I worked toward the back since I really didn’t really mind how nice the back would look for this project.
Needs 24 hours to dry, so I went off to create another project with no time to waste…
With the mortar all dry, then came the time to set the grout. That application was not as dreadful as I had imagined (Yeah well of course it was a small space too). It was another 24 hour dry time.
Overall, I was pretty impressed on how quickly I got this project done! Friends and family also impressed with my new ability to lay tile. I believe my mom thinks I am going to help with some new kitchen counters…. Eeeek!
The next step it to get all of my equipment on the new surface and get some glass projects happening.
More details on that to follow…
.

